
WhatsApp Integration
Connect your Chatsa bot with WhatsApp to engage with your customers on their preferred messaging platform.
Integrating WhatsApp with Chatsa allows your custom chatbot to communicate directly with customers via WhatsApp, providing a seamless and efficient way to handle inquiries and automate responses. This guide will walk you through the necessary steps to connect your chatbot to a WhatsApp phone number, ensuring smooth and effective customer interactions.
Before we start
The WhatsApp phone number integrated with the chatbot can only be used by the chatbot, and can't be used on WhatsApp or WhatsApp business. If you already use the phone number with WhatsApp, you must delete your account in the app first.
To delete WhatsApp
- Navigate to WhatsApp or WhatsApp Business app.
- Navigate to Settings -> Account.
- Select Delete my account. This may take a few minutes, but after that, the number will be available to use.
If you previously used WhatsApp through Meta Developer for business
- Navigate to you Whatsapp Business Account and login.
- Choose the phone number you would like to integrate.
- Navigate to Settings -> Two-step verification and choose turn off two-step verification.
Integration Steps
Navigate to the Chatbot you would like to integrate with WhatsApp.
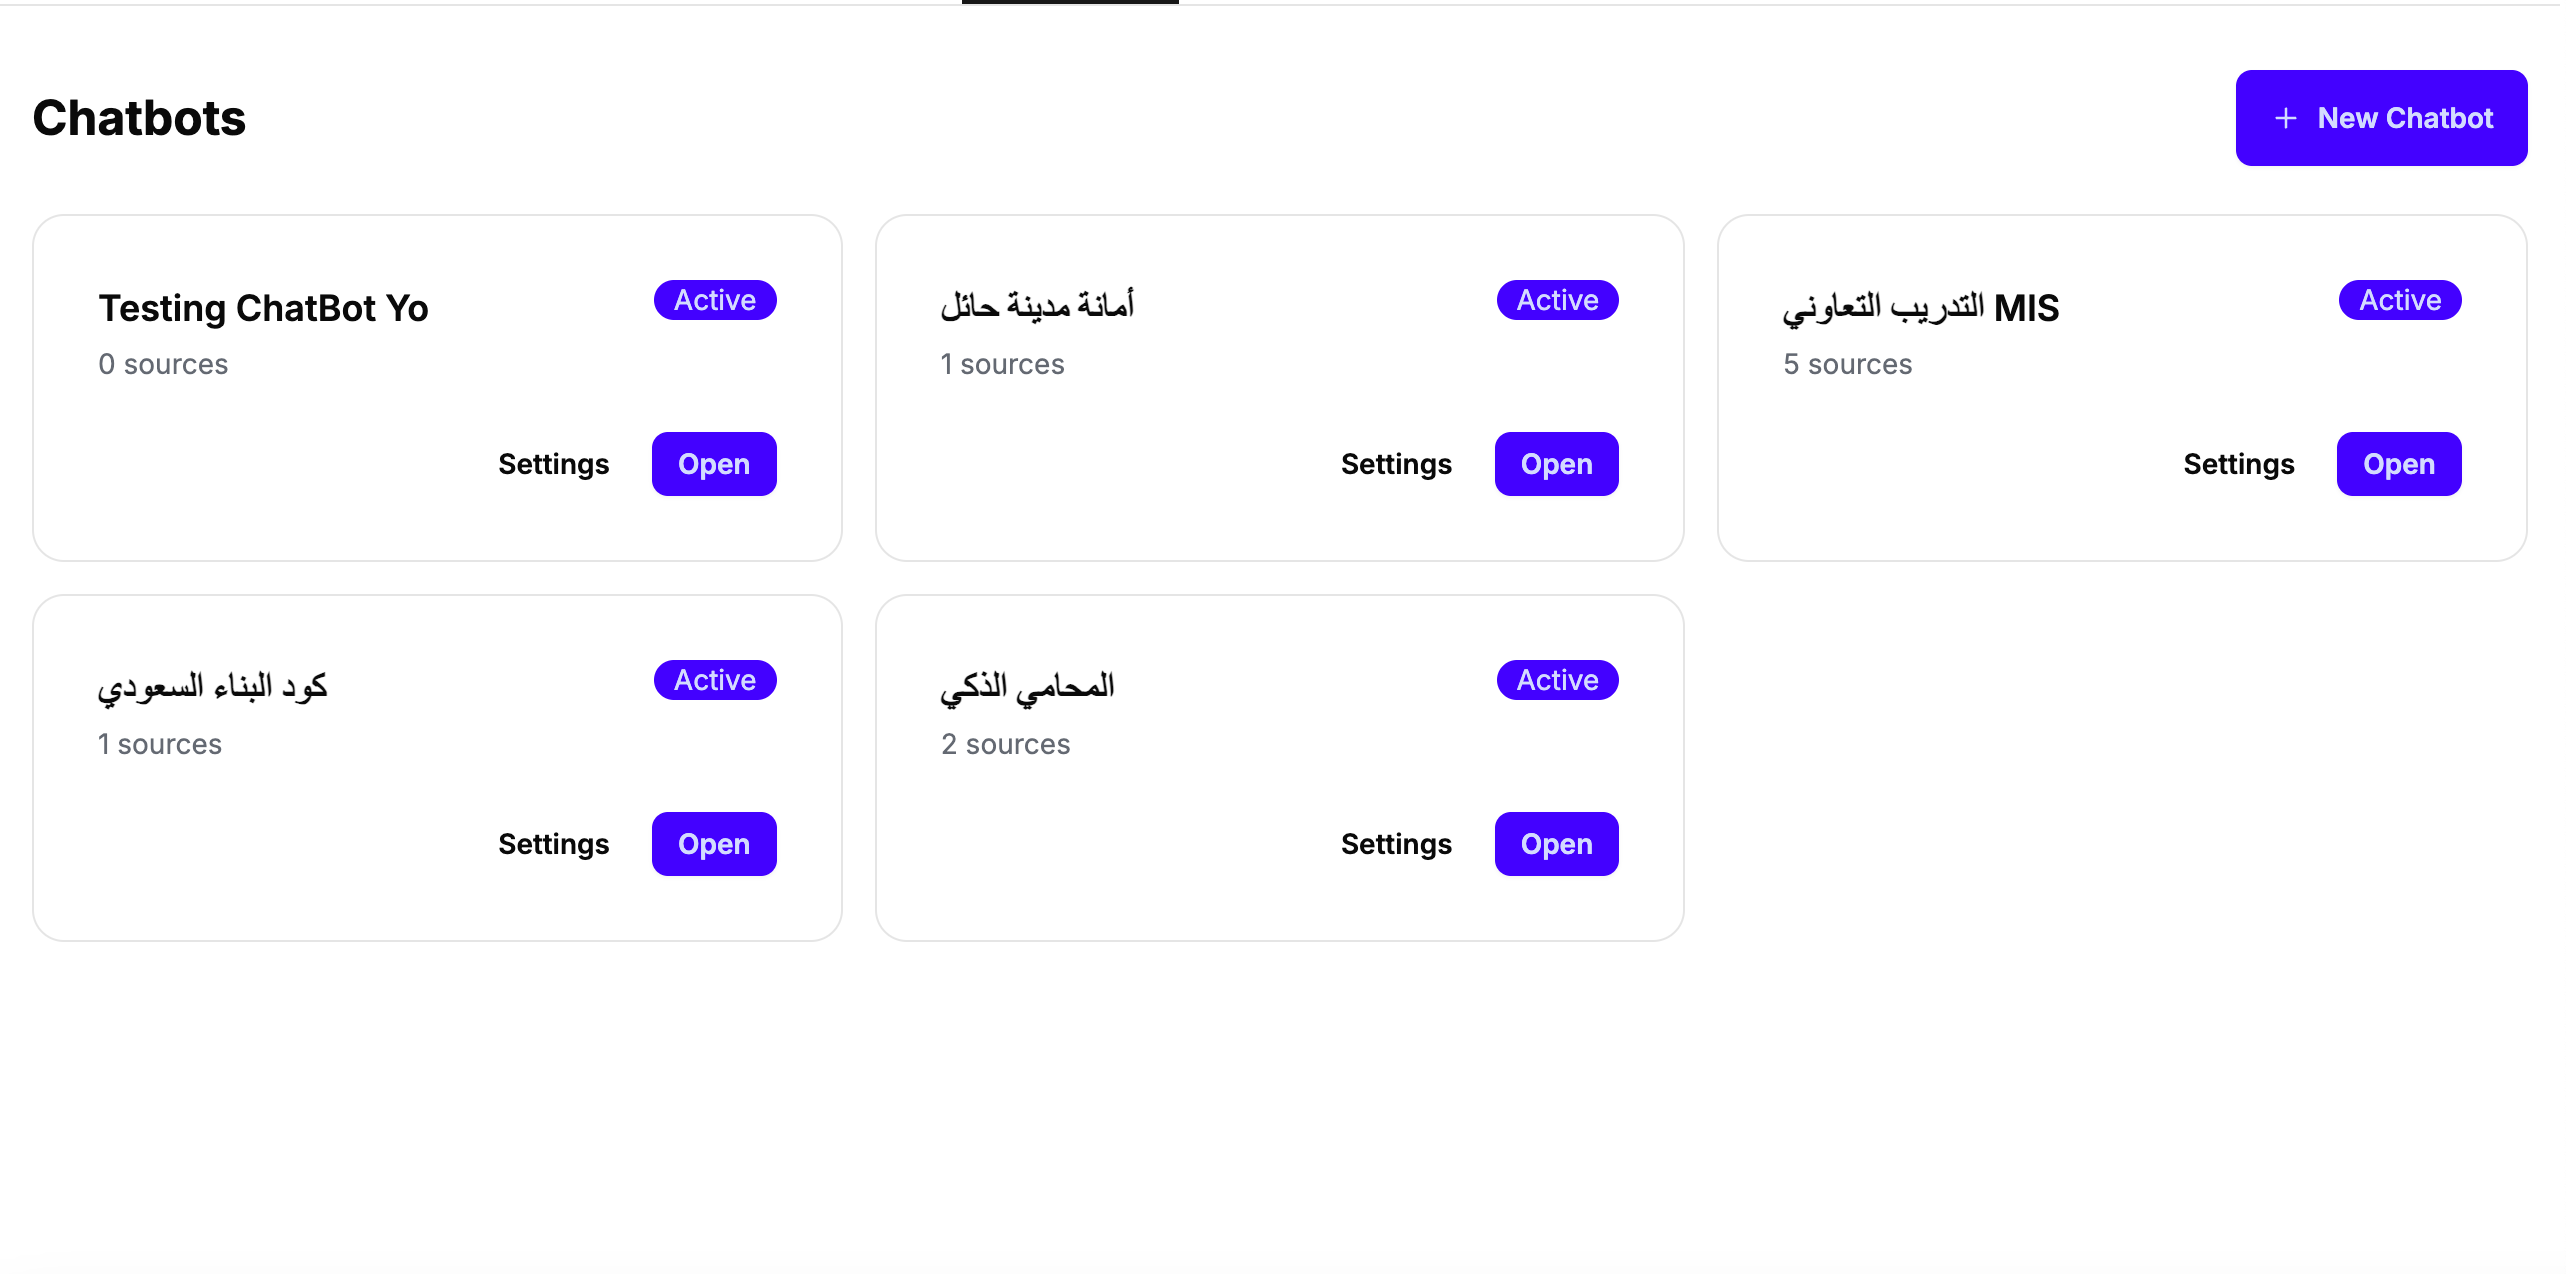
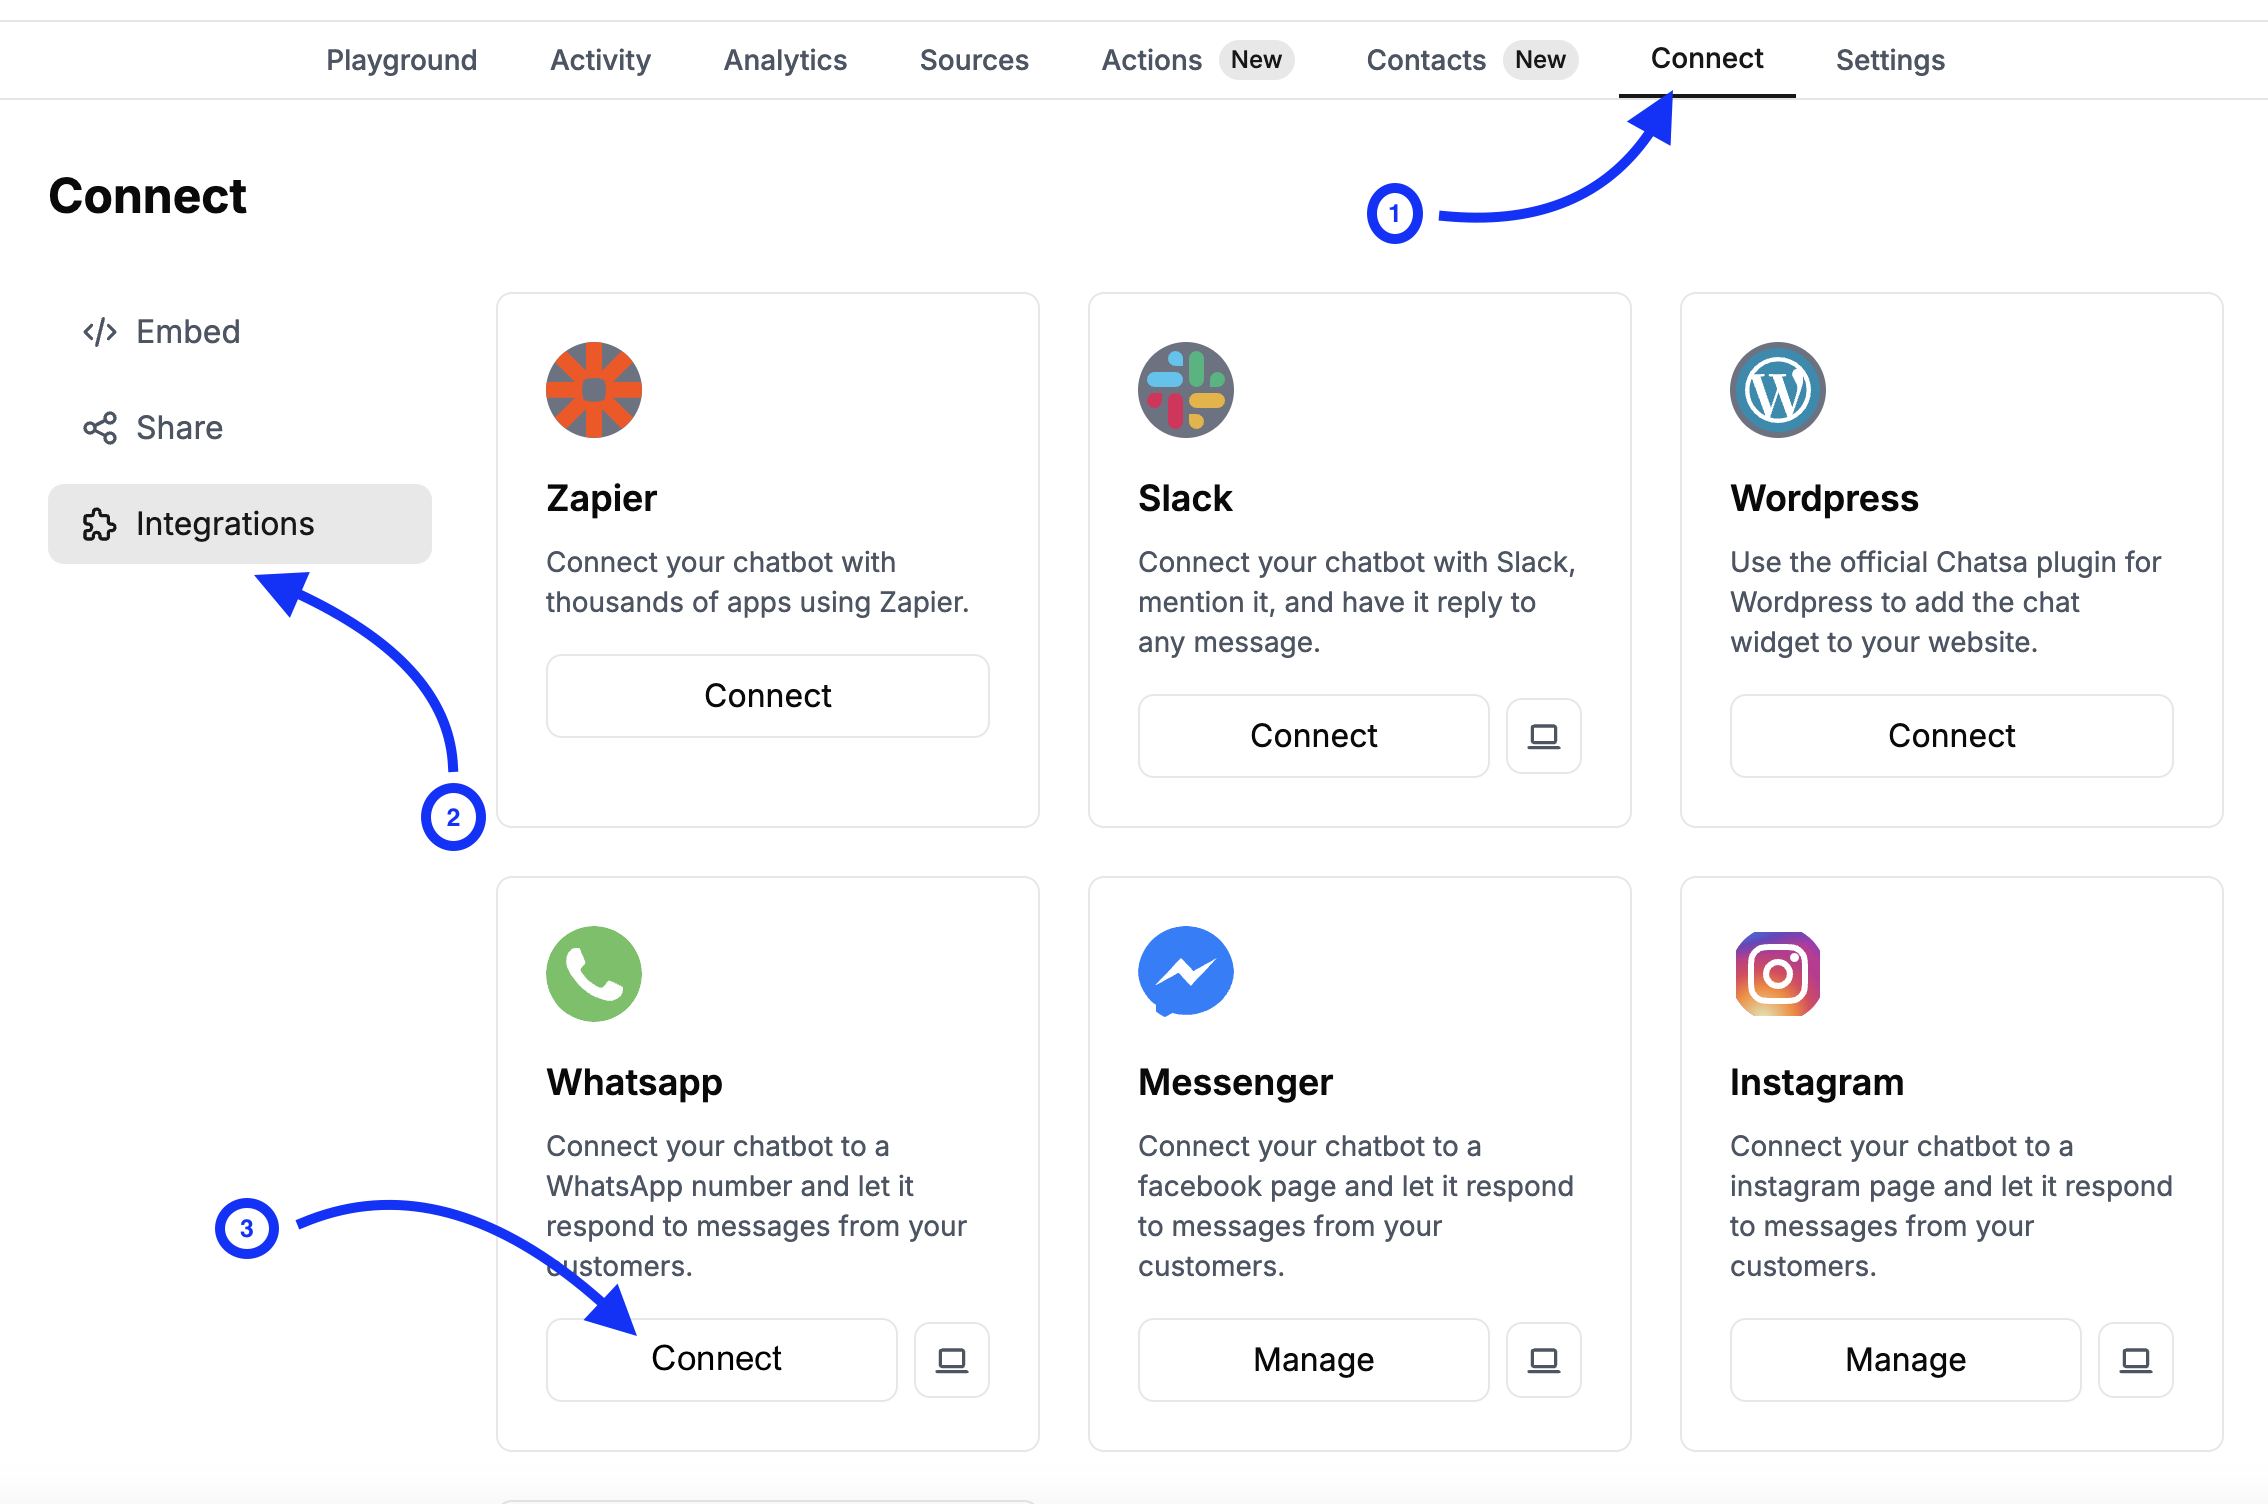
Navigate to Dashboard -> [Chatbot] -> Connect -> Integrations.
Click Connect on the WhatsApp integration card.
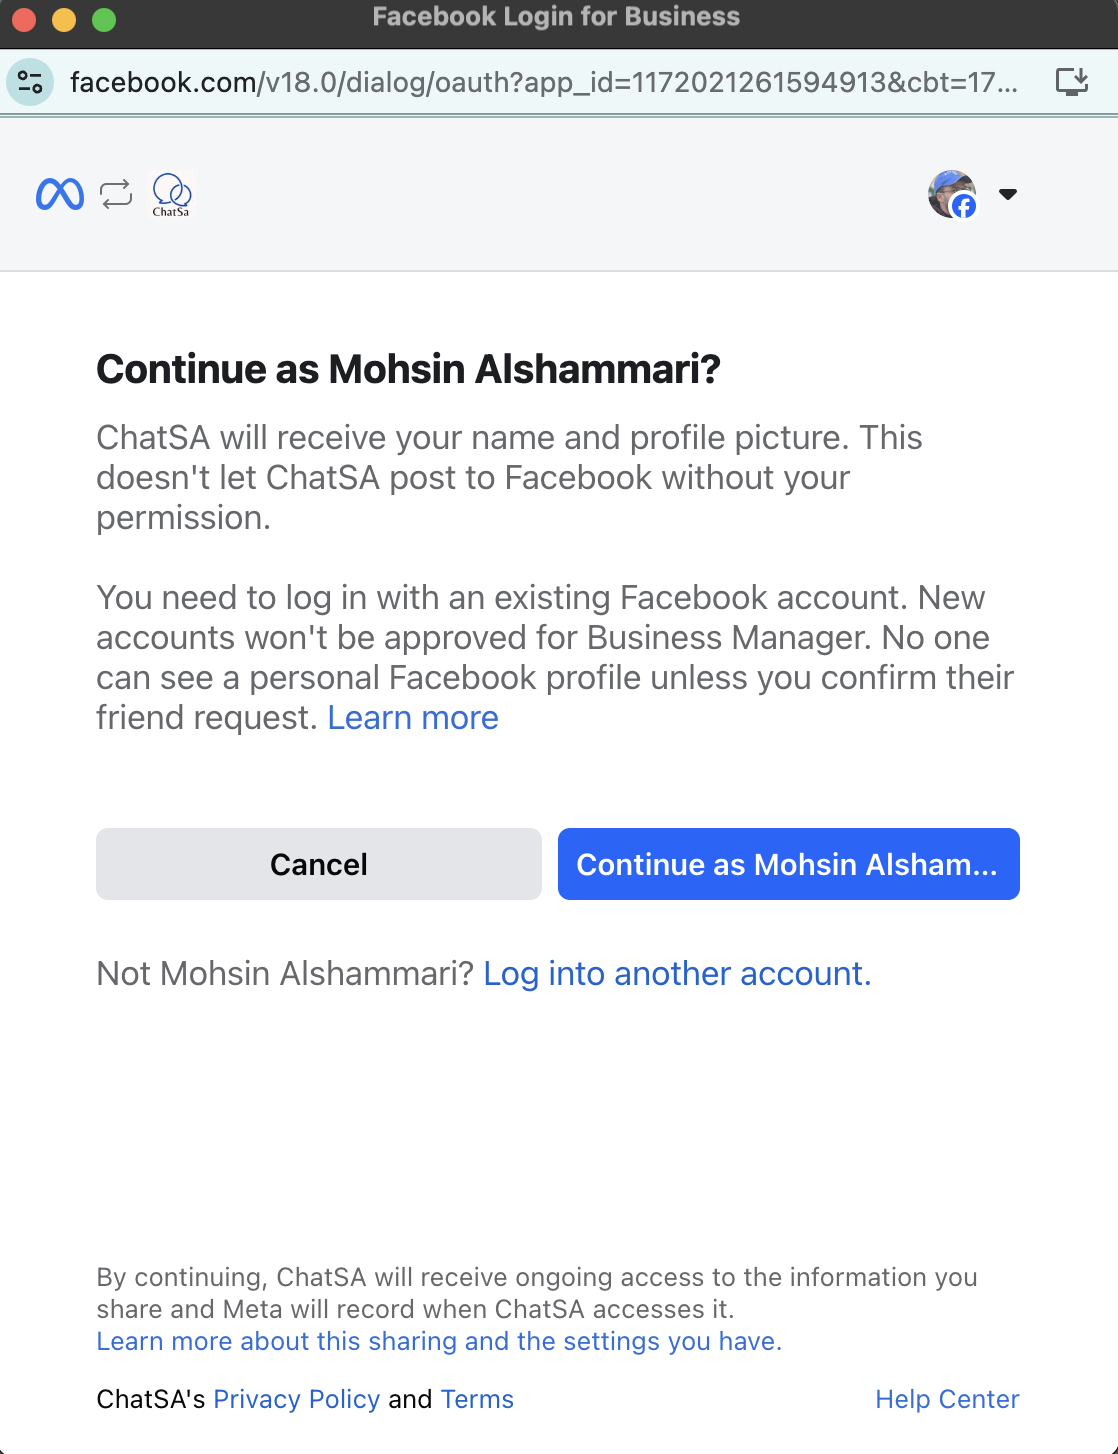
Log in with your personal Facebook Account.
Click Get started
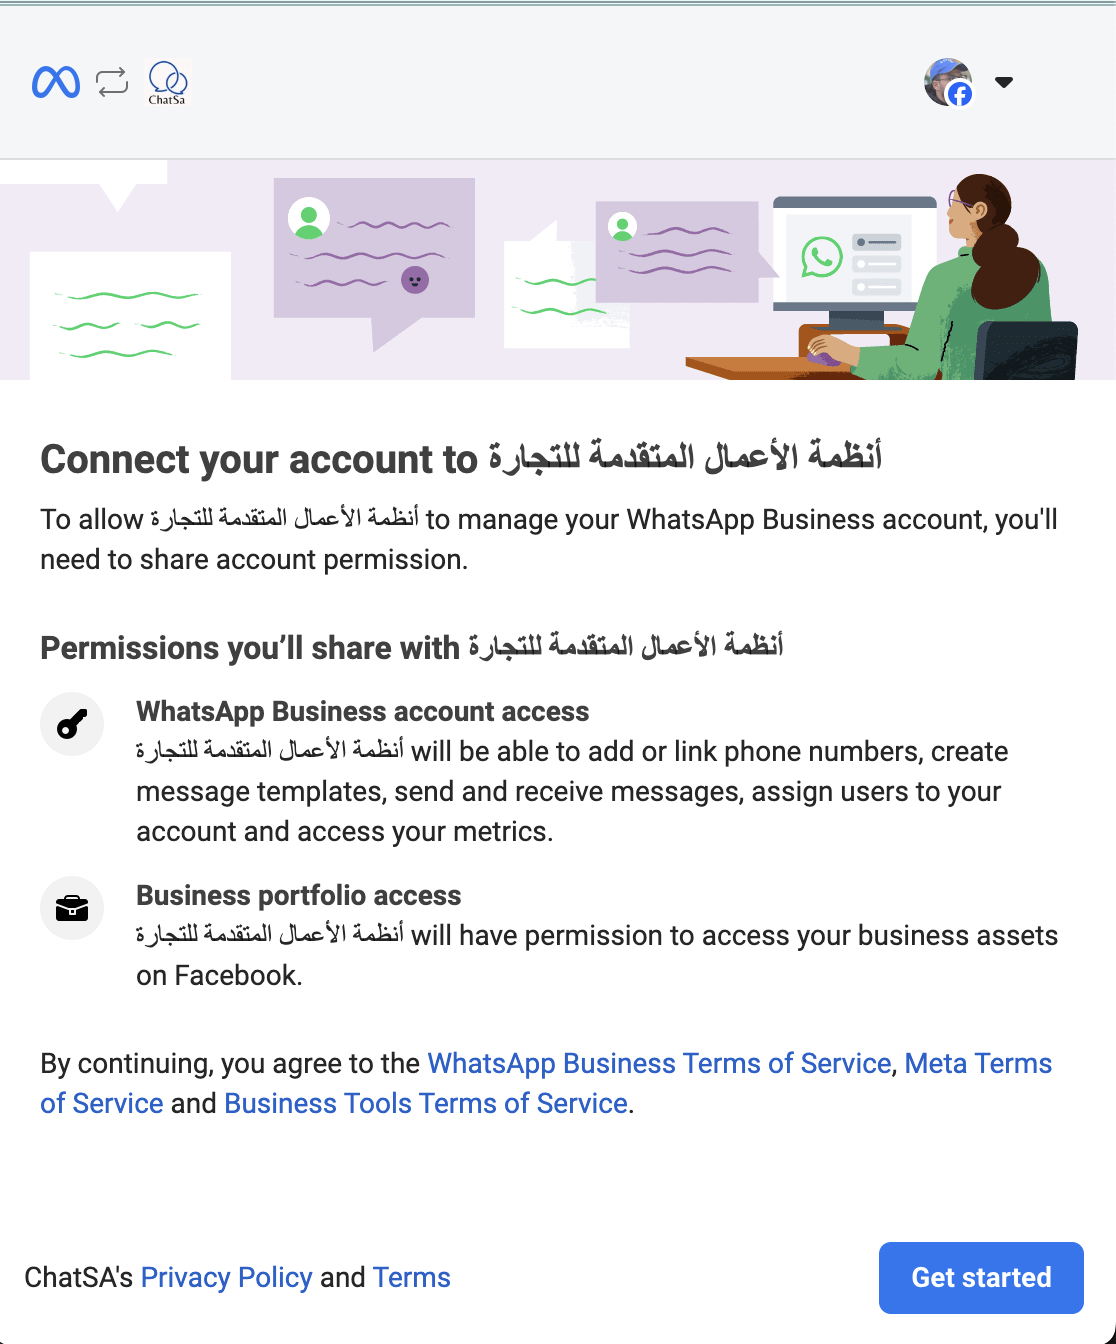
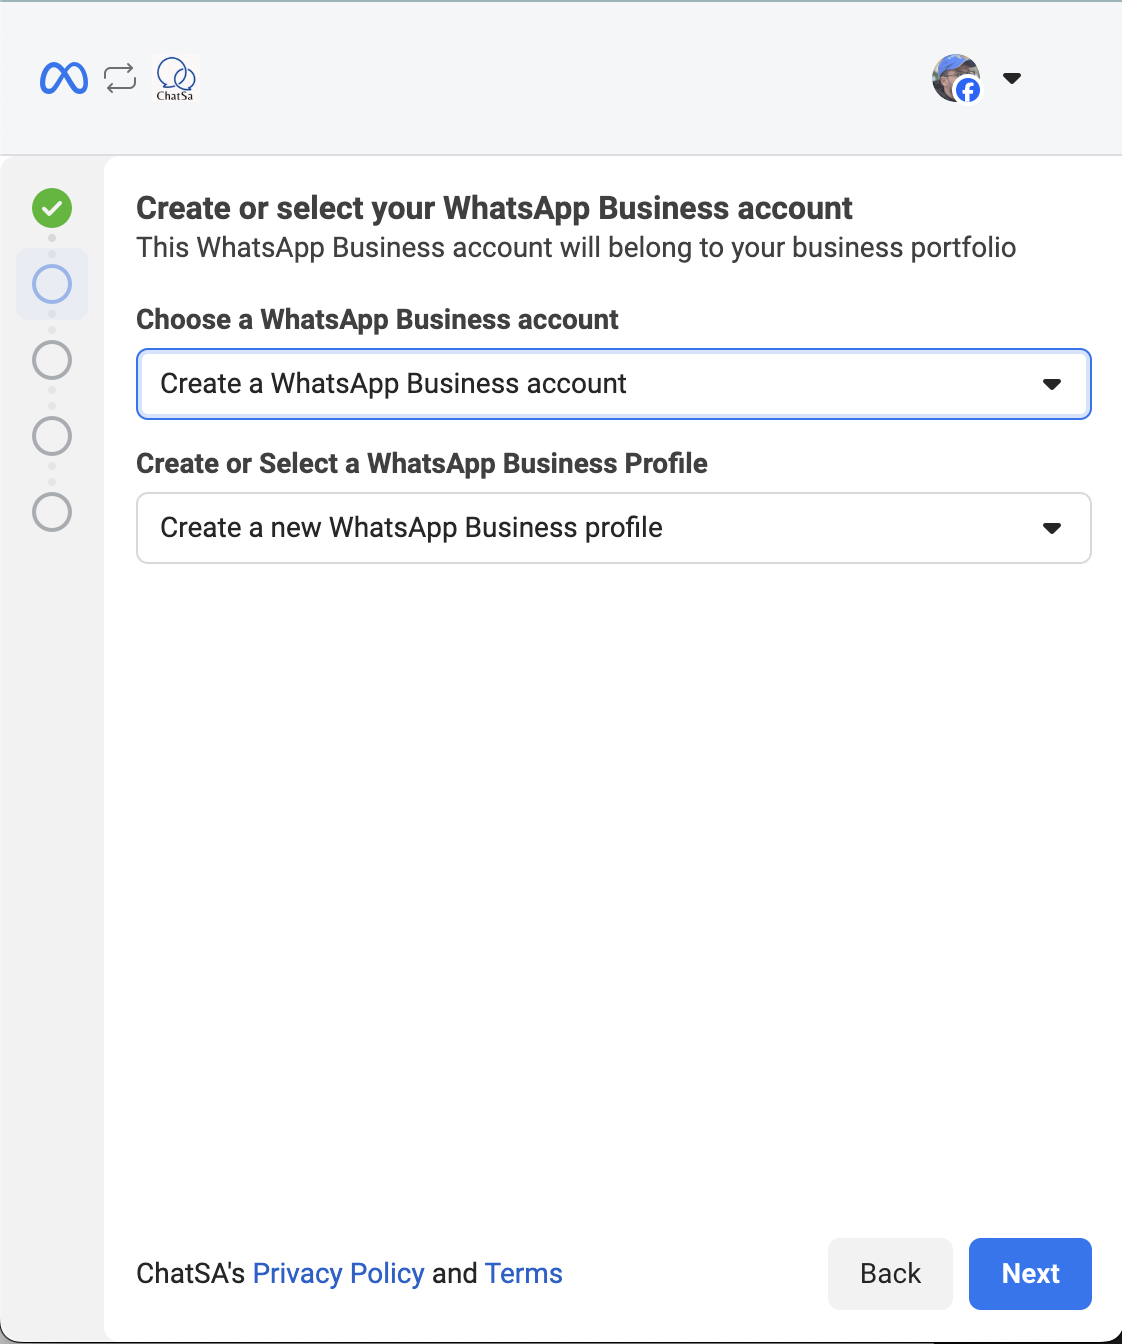
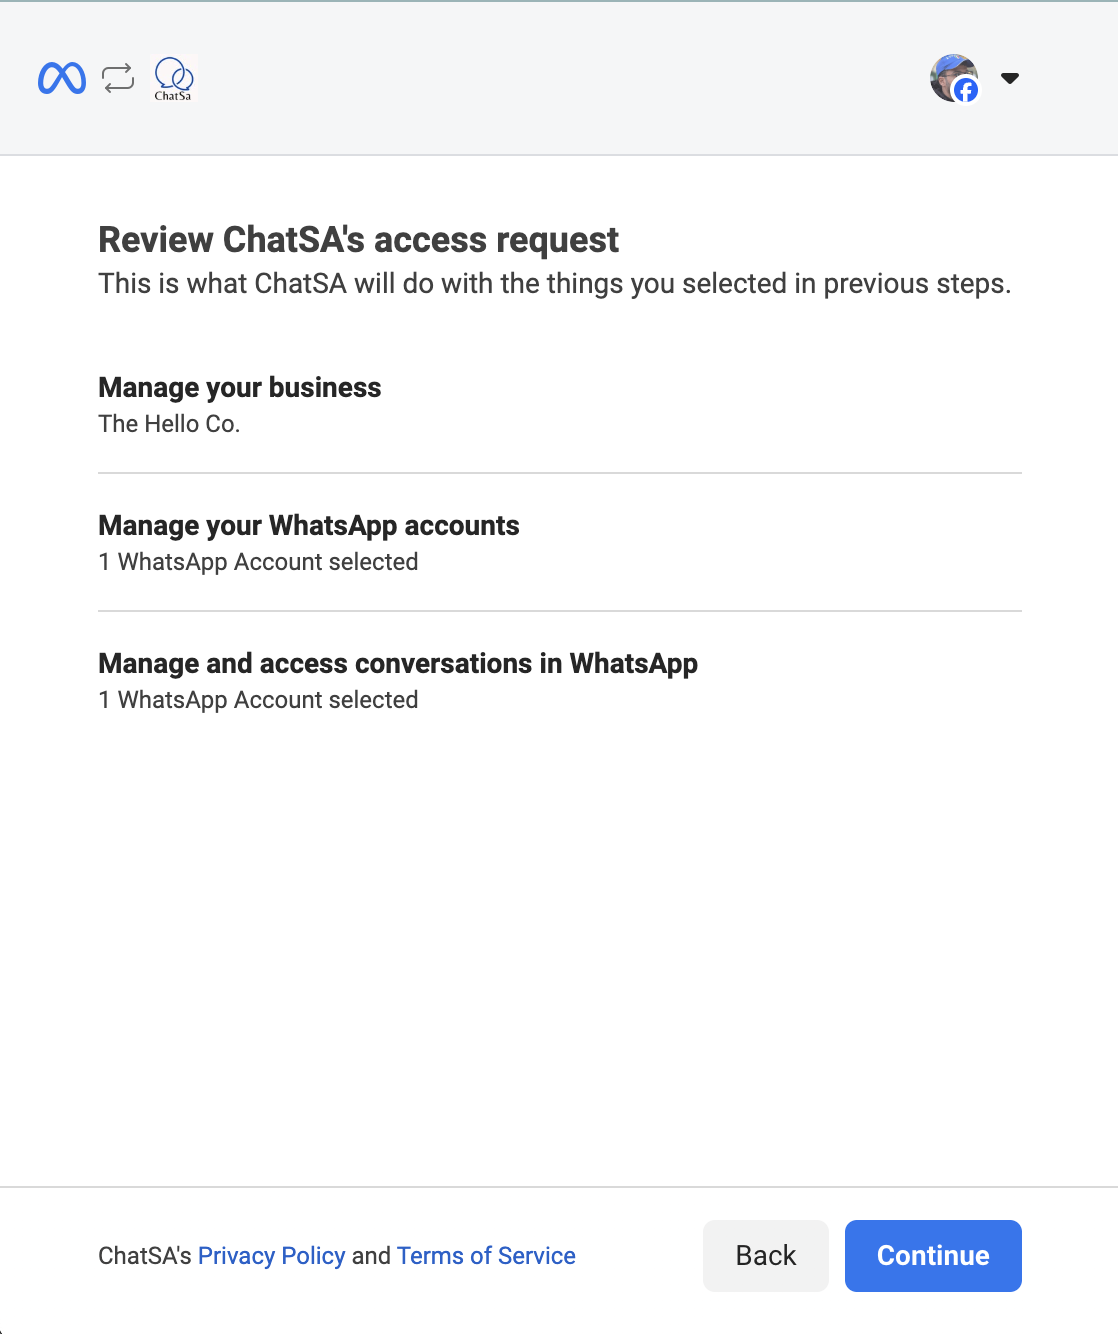
Choose or create a business profile.
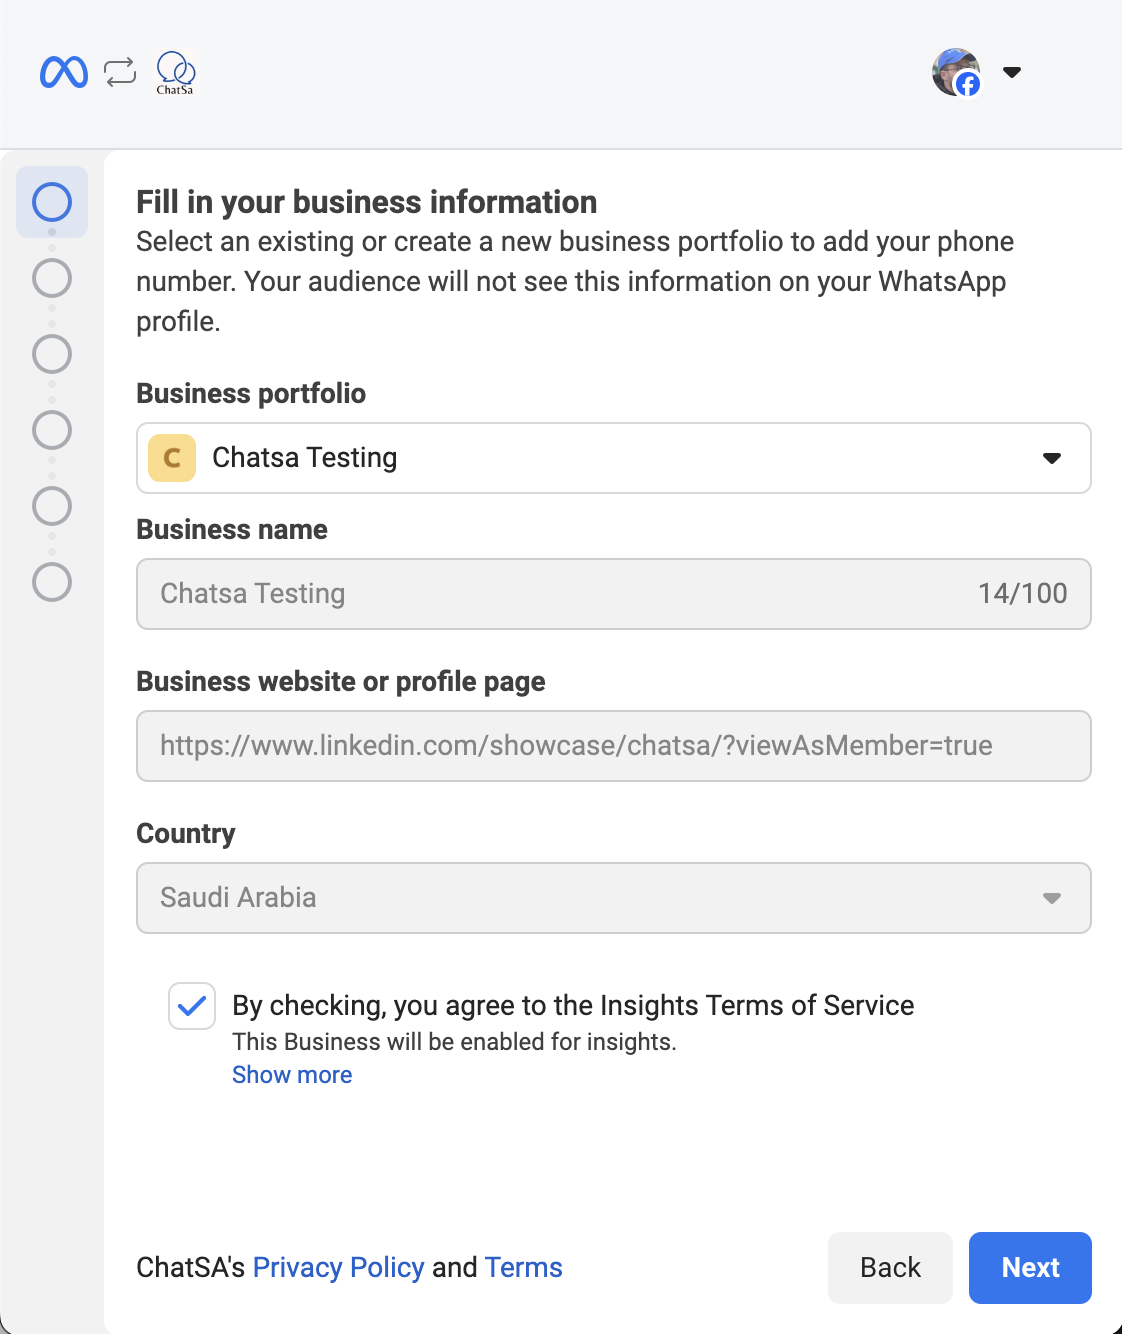
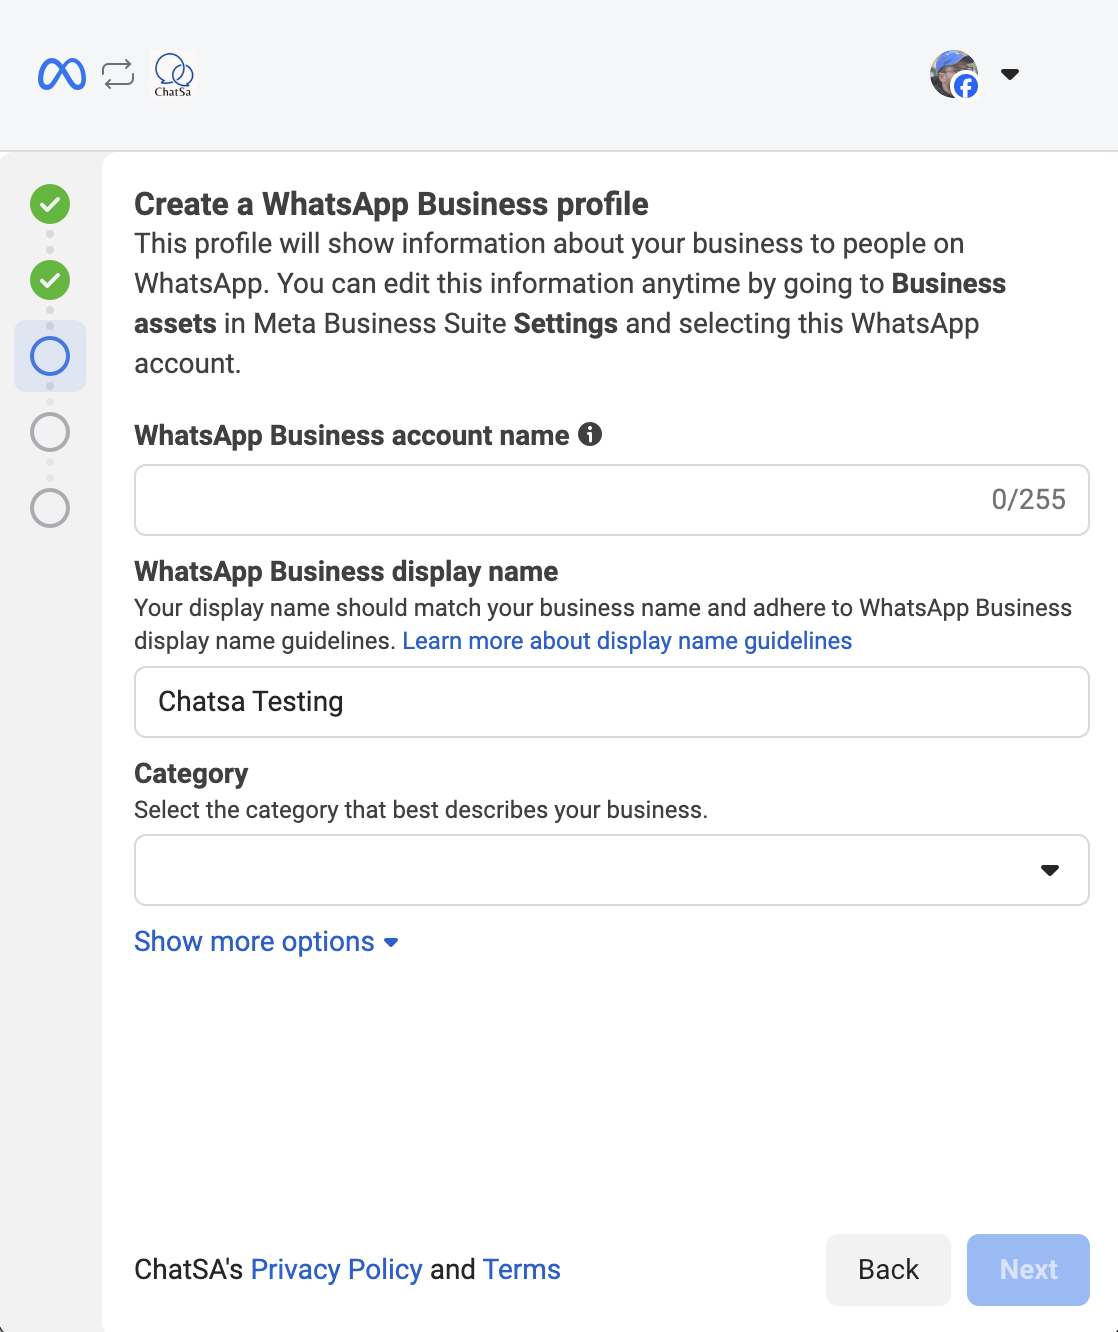
Create a WhatsApp business profile or select an existing one.
Fill in the information for the Business profile.
Add a phone number, it is recommended to have only one associate number in this profile.
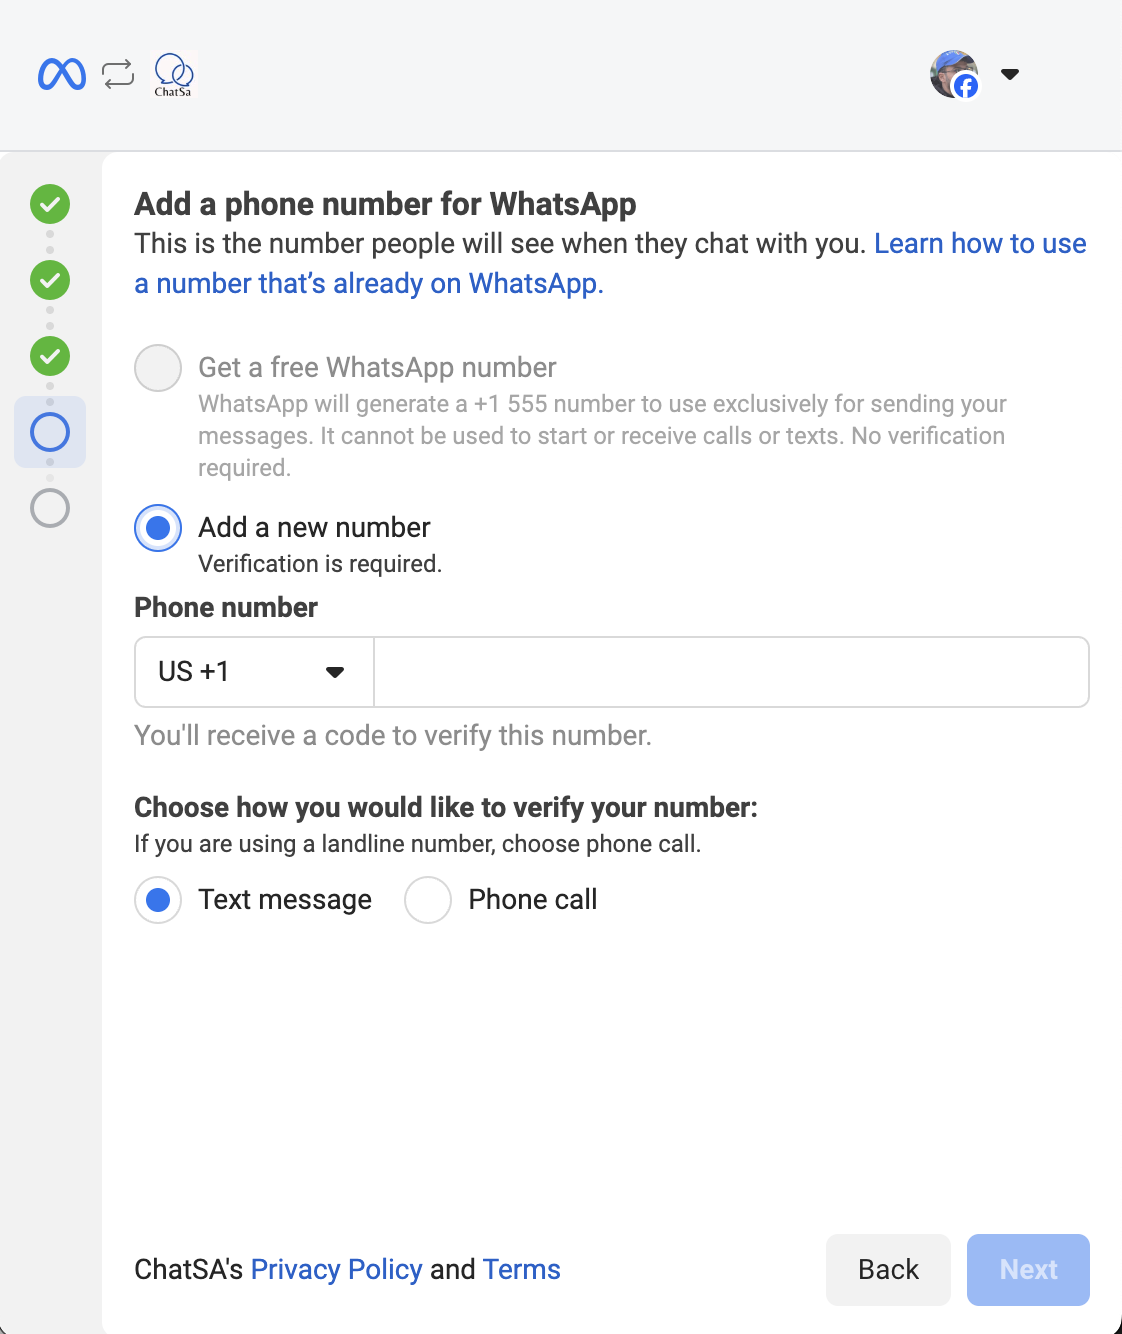
Click Continue.
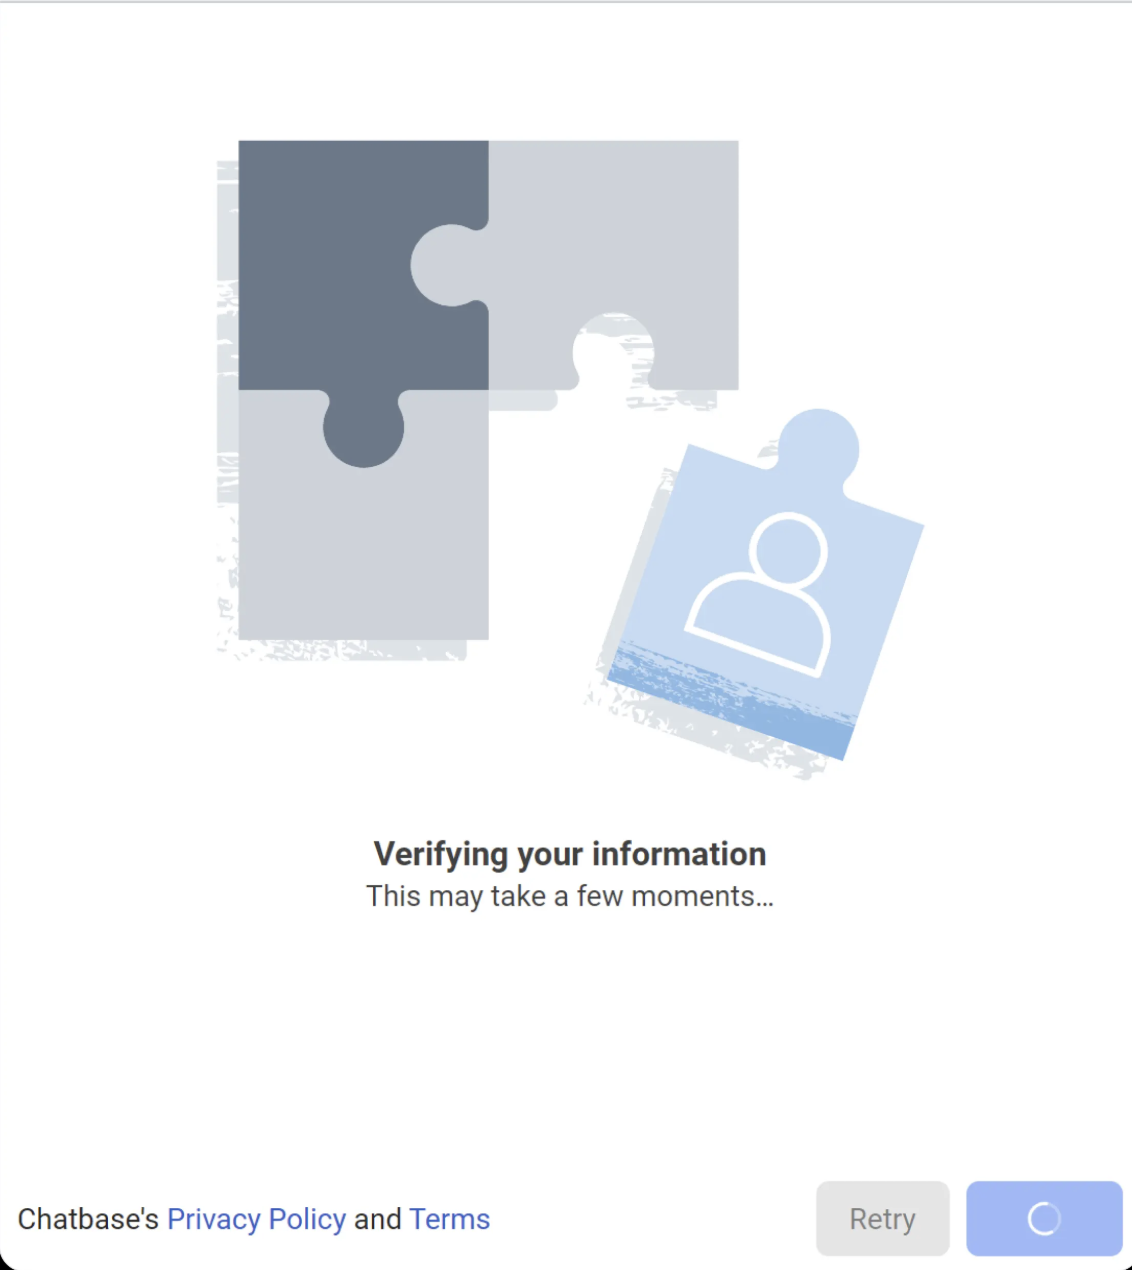
Wait a few seconds for information verification.
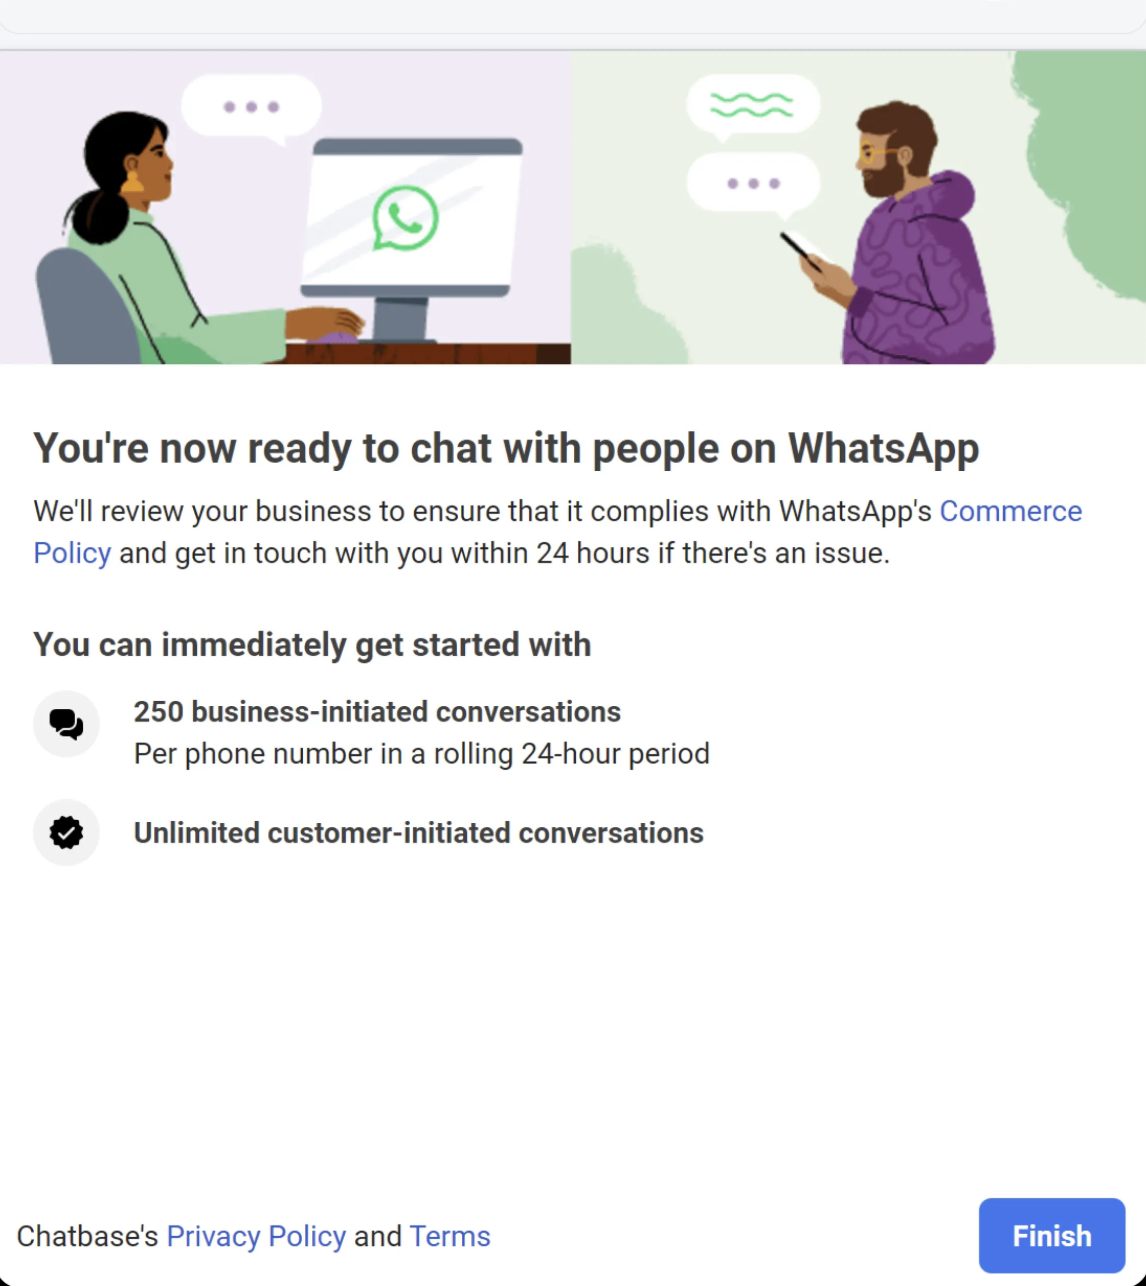
Click on Finish.
Optional Settings
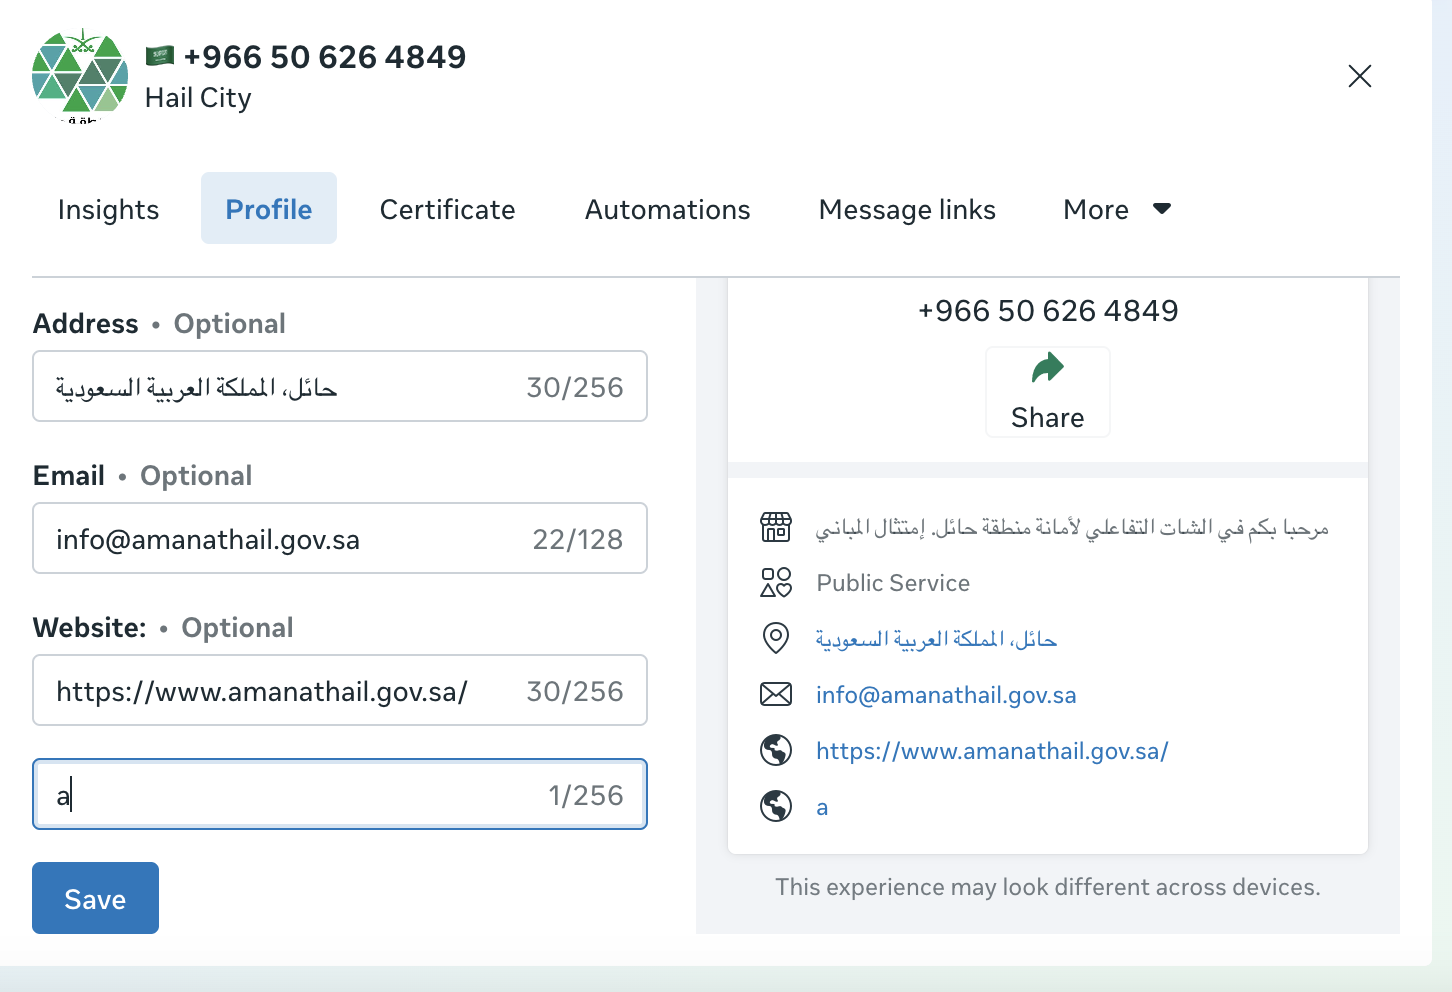
You can modify your WhatsApp bot styling or delete your phone number by clicking the "I" icon next to WhatsApp or by navigating to the manage WhatsApp page.

Navigate to Profile and update your WhatsApp settings then click the Save button.
Now that your integration is active you can send 1000 free messages monthly. Make sure to add a payment method on your Meta billing settings to be able to send more than 1000 messages per month.
Congratulations! You finished integrating your Chatsa chatbot to WhatsApp, your chatbot is now ready to reply to all the messages received through your WhatsApp!
Connect to WhatsApp
Link your WhatsApp Business account to start using Chatsa with WhatsApp